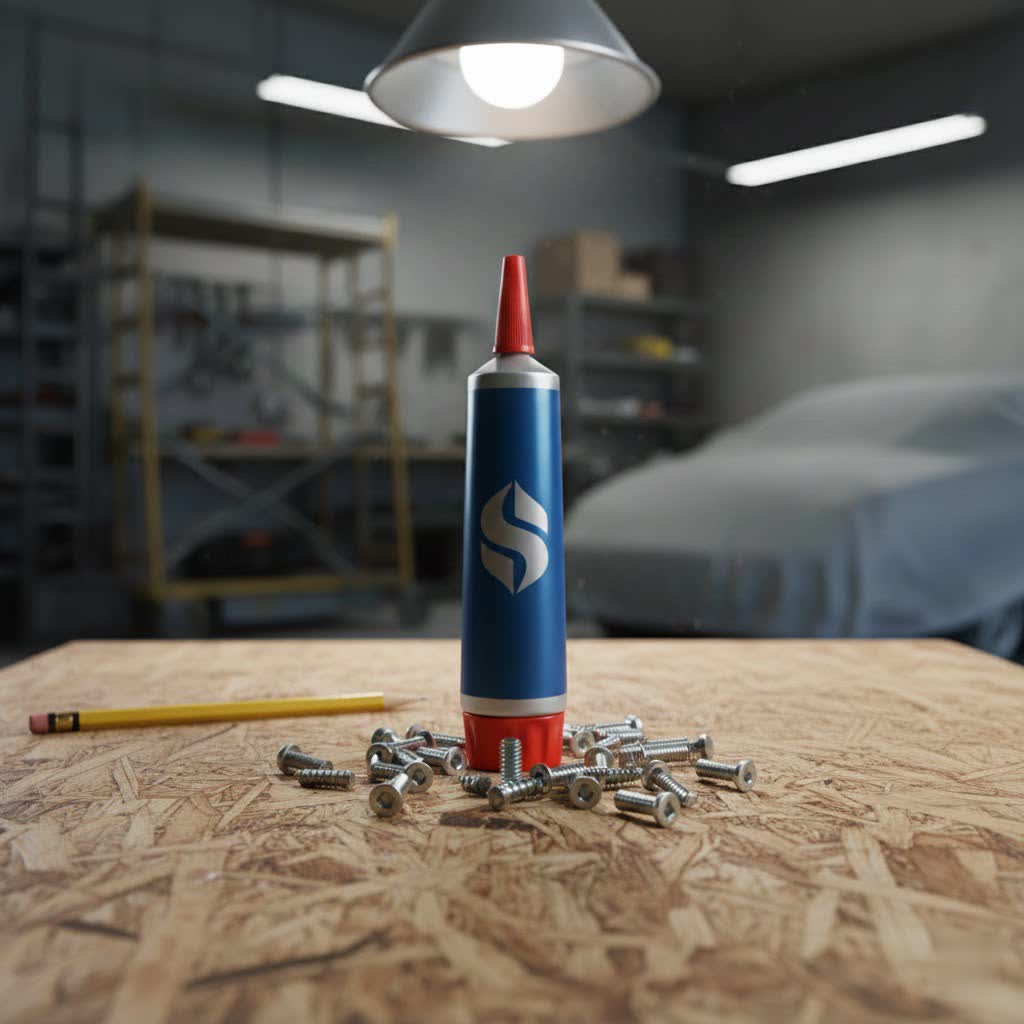
Super Glue combined with baking soda creates an instant, robust, and gap-filling plastic compound, significantly enhancing the strength and durability of repairs compared to Super Glue used alone. This DIY hack transforms a common adhesive into a powerful tool for fixing a wide range of broken items, from plastics to ceramics, by accelerating the curing process and forming a dense, cement-like material.
What is Super Glue with Baking Soda, and How Does It Work?
Super Glue, known scientifically as cyanoacrylate, is a fast-acting adhesive recognized for its rapid bonding. Its strength comes from a chemical reaction with moisture, causing it to polymerize and harden almost instantly. When baking soda (sodium bicarbonate) is introduced, it acts as a powerful catalyst.
The bicarbonate molecules react with the glue, creating a reactive ion that significantly accelerates the polymerization process. This exothermic reaction generates heat, causing the glue to harden almost immediately. The result is a dense, cement-like plastic compound with exceptionally strong, long polymer chains, creating a bond far superior in strength and durability to Super Glue used alone. It essentially transforms the liquid adhesive into a hard, moldable filler.
Why Combine Them? The Benefits Explained
The synergy between Super Glue and baking soda offers several compelling advantages for repairs that go beyond standard adhesives.
Instant Curing and Enhanced Speed
One of the most striking benefits is the almost instantaneous curing time. While Super Glue is already fast, adding baking soda makes it harden on contact, eliminating the need for prolonged clamping or waiting. This rapid setting is invaluable for quick repairs, especially on tricky items difficult to hold in place.
Unrivaled Bonding Strength
The resulting bond is significantly stronger and more resilient than what Super Glue alone can achieve. Baking soda creates a robust matrix within the adhesive, reinforcing the cured cyanoacrylate and forming a dense, durable material that resists impact, vibrations, and general wear and tear more effectively. This makes it ideal for repairs on items that undergo regular stress or handling.
Exceptional Gap-Filling and Reinforcement
Traditional Super Glue performs best on tightly fitting surfaces, struggling to bridge gaps. The Super Glue and baking soda mixture excels as a gap filler, perfect for repairing chipped edges, filling holes, reinforcing weak joints, or reconstructing missing pieces. It creates a solid, hard mass that can fill voids, providing structural integrity where it was previously lacking.
Versatile Applications
This dynamic duo can bond and reinforce a wide array of materials, including plastics, metals, ceramics, wood, and even some types of rubber. Its versatility makes it a go-to solution for diverse repair needs, from small household items to more demanding projects.
How to Use Super Glue with Baking Soda for Repairs
|
Our Picks for the Best Super Glue in 2026
As an Amazon Associate I earn from qualifying purchases.
|
||
| Num | Product | Action |
|---|---|---|
| 1 | Loctite 1363589 4-Gram Bottle Super Glue Ultra Gel Control Adhesive, 3-Pack |

|
| 2 | WoldoClean Super Glue for Metal 25g Extra Strong Metal Glue - for Stainless Steel and Aluminum, Dries Clear, Waterproof and Holds Instantly |
|
| 3 | Gorilla Super Glue Gel XL, Clear Glue, 25 Gram (Pack of 1) - All Purpose and Fast Setting for Projects and Repairs |
|
| 4 | Bob Smith Industries BSI-157H Maxi Cure/Insta-Set Combo Pack (3 oz. Combined),Clear |
|
| 5 | Gorilla Super Glue with Brush & Nozzle Applicator, Clear Glue, 12 Gram (Pack of 1) - All Purpose and Fast Setting for Projects and Repairs |
|
| 6 | Super Glue 15175 Mini Single Use Tubes 5-Pack |
|
| 7 | Loctite Super Glue Ultra Gel Control, 4-Gram Bottle (1739050) (Fоur Paсk) |
|
| 8 | Loctite Super Glue Ultra Liquid Control, Clear, 0.14 fl oz Bottle, 6 Pack - Superglue for Plastic, Wood, Metal, Crafts & Repair, Cyanoacrylate Adhesive Instant Glue, Quick Dry |
|
| 9 | Super Glue Super Glue 15173-5 Single-use Minis,4 Pack |
|
| 10 | Krazy Glue Original Adhesive - Super Glue - Precision Tip - Multi-Purpose One Drop Applicator (12) |
|
Mastering this repair hack involves a few simple steps, but precision and speed are key due to the instant curing reaction.
Preparation is Key
Before you begin, ensure your surfaces are clean, dry, and free from dust or grease. Gather your materials: Super Glue (thinner viscosity often works best for penetration, but gel can be used for building up), baking soda, and a small applicator like a toothpick, old toothbrush, or a small brush. Always work in a well-ventilated area and consider wearing gloves and eye protection.
Step-by-Step Application Methods
-
For Reinforcing and Small Gap Filling:
- Apply a thin layer of Super Glue directly to one of the surfaces to be bonded or along the crack.
- Immediately sprinkle a small amount of baking soda over the wet glue. You’ll observe an instant hardening reaction.
- Remove any excess baking soda with a brush or by tapping the item gently.
- For added strength or to build up material, you can apply another layer of glue on top of the cured mixture, followed by more baking soda, repeating the process.
-
For Filling Larger Gaps or Building Up Material:
- First, fill the gap or hole with baking soda.
- Carefully drip Super Glue onto the baking soda. The glue will rapidly soak into the powder and harden almost instantly, forming a solid mass.
- For thicker repairs, build up in layers, allowing each layer to harden before adding the next. This prevents excessive heat buildup and ensures a thorough cure. Allow about 10 minutes between layers for thicker applications.
Tips for Optimal Results
- Less is More: Start with small amounts of both glue and baking soda to avoid a messy application or an overly bulky repair.
- Work Quickly: Due to the rapid curing, have everything ready and work efficiently.
- Cure Time: While the initial bond is instant, allow the repair to fully cure for at least an hour, or preferably longer, before subjecting it to stress, sanding, or drilling. This ensures maximum strength.
Common Applications and Project Ideas
The Super Glue and baking soda combination proves incredibly useful across a range of repair scenarios:
- Repairing Broken Plastics: This is where the hack truly shines. Fix broken plastic toys, cracked car interior parts, damaged appliance casings, or even reinforce delicate plastic hinges on headphones.
- Fixing Ceramics and Metals: Mend chipped ceramic edges, reattach metal parts, or secure loose screws where the threading is stripped, creating a new, durable anchor point.
- Filling Cracks and Holes: Seal leaks in plastic containers, fill nail holes, or repair deep gouges in wood or other hard materials.
- Model Building and Crafting: Model enthusiasts frequently use this technique to fill seams, create custom shapes, or add structural integrity to delicate parts, which can then be sanded and painted.
- Automotive and Boating Repairs: Address minor cracks in non-critical components, fill small punctures, or reinforce stress points.
Important Considerations and Safety Tips
While highly effective, using Super Glue with baking soda requires attention to detail and safety.
- Exothermic Reaction: The reaction generates heat. For very large applications, this heat can be significant. Apply in layers to manage temperature.
- Ventilation: Always work in a well-ventilated area to avoid inhaling fumes.
- Personal Protective Equipment: Wear protective gloves and safety glasses to prevent skin bonding or eye irritation. If glue gets on your skin, use acetone (nail polish remover) carefully.
- Not for Flexible Materials: The cured Super Glue and baking soda mixture is rigid and hard. It is not suitable for repairing items that require flexibility, such as fabric, rubber hoses, or certain types of flexible plastics, as the bond will likely crack under stress.
- Aesthetics: The resulting repair is typically opaque and can be somewhat rough. While it can be sanded, shaped, drilled, and painted for a cleaner finish, it won’t be invisible.
- Irreversible Bond: This repair is highly permanent. Plan your application carefully, as separating bonded items without damage is extremely difficult.
Super Glue with Baking Soda vs. Other Adhesives
How does this unique blend stack up against other common adhesives like epoxy? While epoxies are known for strong, gap-filling bonds and often offer longer working times and more flexibility in certain formulations, the Super Glue and baking soda method offers unparalleled speed. It’s ideal when you need an instant, rock-hard, rigid filler and bond, whereas epoxy might be chosen for larger structural repairs requiring more repositioning time or a more flexible cure. Neither is universally superior; they serve different purposes.
Conclusion
The combination of Super Glue and baking soda is more than just a simple DIY trick; it’s a chemical synergy, offering an incredibly fast, strong, and versatile solution for a multitude of repairs. From reinforcing a broken plastic bracket to filling a troublesome gap, this hack empowers you to fix items you might have otherwise discarded. While it demands careful application and safety precautions, the ability to create an instant, durable, and workable “plastic cement” is an invaluable addition to any home repair kit. Don’t let those broken items linger – embrace the power of Super Glue and baking soda and bring them back to life.
Frequently Asked Questions
Frequently Asked Questions
Is Super Glue with baking soda waterproof after it cures?
Yes, once fully cured, the Super Glue and baking soda compound forms a waterproof seal. This makes it suitable for repairs on items that may come into contact with moisture, providing a durable solution.
Can repairs made with Super Glue and baking soda be sanded and painted?
Absolutely! The hardened mixture creates a solid, plastic-like material that can be sanded smooth, filed, drilled, and then painted. This allows for a neat and discreet repair that can match the surrounding surface.
Is the combination of Super Glue and baking soda stronger than Super Glue alone?
Yes, the baking soda acts as both a catalyst and a filler, significantly accelerating the curing process and creating a much stronger, more rigid, and more durable bond. This enhanced strength is due to the formation of a robust matrix within the adhesive.
Does Super Glue with baking soda work on all types of plastics?
While highly effective on most common plastics, like many adhesives, it may not bond well with low-surface-energy plastics such as polyethylene (PE) and polypropylene (PP). It is always best to test on an inconspicuous area first to ensure proper adhesion.
What type of Super Glue is best to use with baking soda?
Thinner Super Glues tend to penetrate the baking soda more effectively, creating a more uniform and solid bond. However, gel Super Glues can also be used, especially for building up layers, though they may take slightly longer to saturate the baking soda.
How to Use Super Glue with Baking Soda for Repairs
Learn two effective methods for using Super Glue and baking soda to create strong, instant repairs for various broken items around your home or workshop.
Ensure your surfaces are clean, dry, and free from dust or grease. Gather Super Glue (thinner viscosity is often best), baking soda, and a small applicator like a toothpick. Work in a well-ventilated area and wear gloves and eye protection for safety.
Apply a thin layer of Super Glue to one surface or along a crack. Immediately sprinkle a small amount of baking soda over the wet glue, observing the instant hardening. Remove any excess baking soda and repeat layers for added strength if needed.
First, fill the gap or hole with baking soda. Carefully drip Super Glue onto the baking soda, which will rapidly soak in and harden. For thicker repairs, build up in layers, allowing about 10 minutes between each layer to prevent excessive heat and ensure a thorough cure.
Start with small amounts of both glue and baking soda to avoid mess. Work quickly due to the rapid curing time. Although the initial bond is instant, allow the repair to fully cure for at least an hour, or preferably longer, before subjecting it to stress, sanding, or drilling to ensure maximum strength.
Get our weekly buyer guide
Practical specs, not advice. Unsubscribe anytime.
I was skeptical about using sodium bicarbonate with my cyanoacrylate glue, but wow, it really works! I had a small plastic toy that broke into several pieces, and regular super glue just wasn’t cutting it. The instant, robust bond I got with the baking soda made it feel stronger than new. This is now my go-to for fixing anything that needs extra reinforcement.
This method is pretty cool. I used it to repair a cracked plastic casing on an old remote control, and it held up great. The gap-filling aspect was super helpful for that particular repair. My only minor complaint is that it can get a little messy if you’re not careful with the baking soda, but the results are worth it for the strength you get.
I’ve been using super glue for years, but the baking soda trick is a game-changer! I fixed a broken ceramic mug handle that I thought was a goner. The way it creates that dense, cement-like material really made the repair feel solid. It dried so fast too, which was a huge plus. Definitely recommend trying this method for any tricky breaks.
I tried this for a small repair on a metal figurine. While it did bond, I found the accelerated curing process a bit too fast for my liking, making it hard to adjust the pieces perfectly. It definitely made a strong connection, but I prefer a little more working time. Maybe it’s better for larger, less precise breaks.