Have you ever faced a broken item that seemed beyond repair, or a frustrating gap that traditional glues just couldn’t fill? What if a common pantry staple, combined with your trusty super glue, could create an almost instant, rock-hard solution? The super glue and baking soda hack is a DIY major upgrade, transforming ordinary repairs into super-strong, durable fixes. This comprehensive guide, informed by over a decade of hands-on experience with adhesives, will examine the science, applications, and best practices for mastering this powerful combination, helping you tackle virtually any repair with confidence and precision.
What is the Super Glue & Baking Soda Hack?
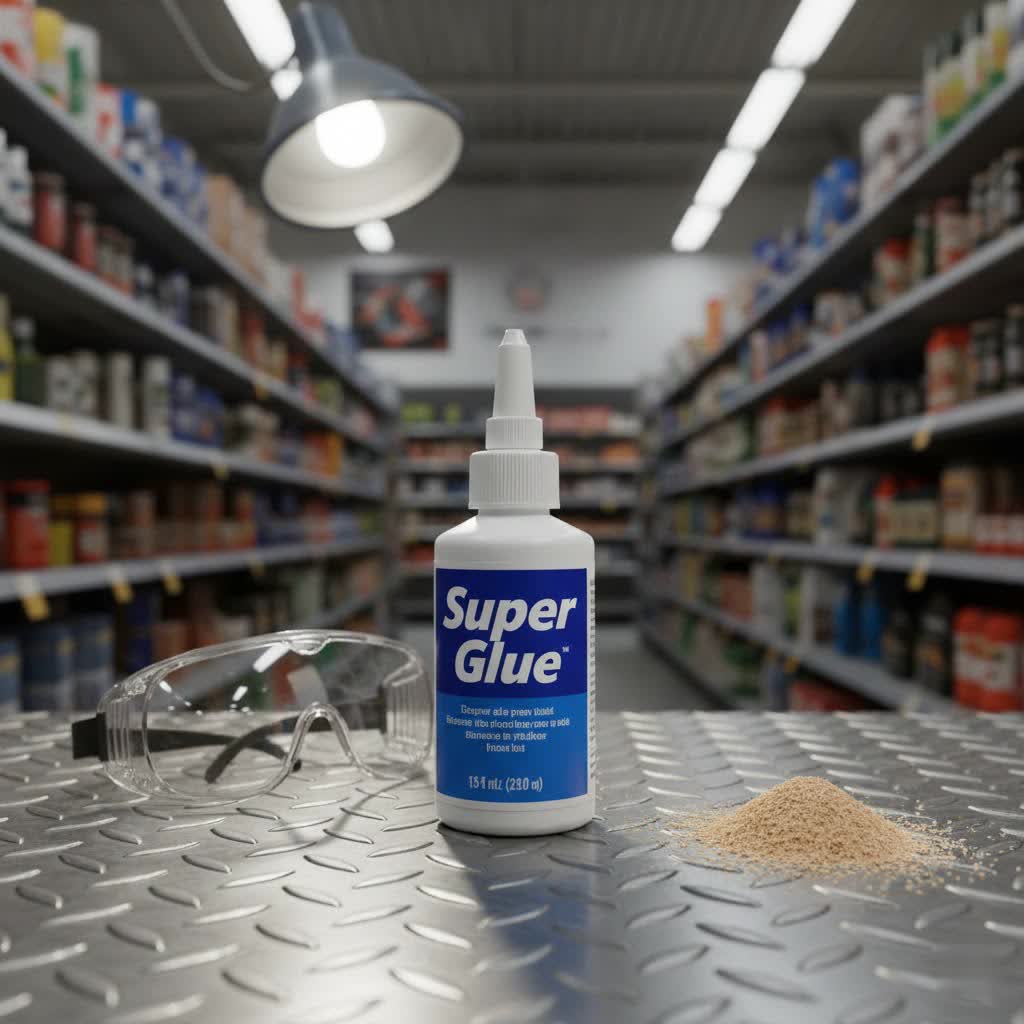
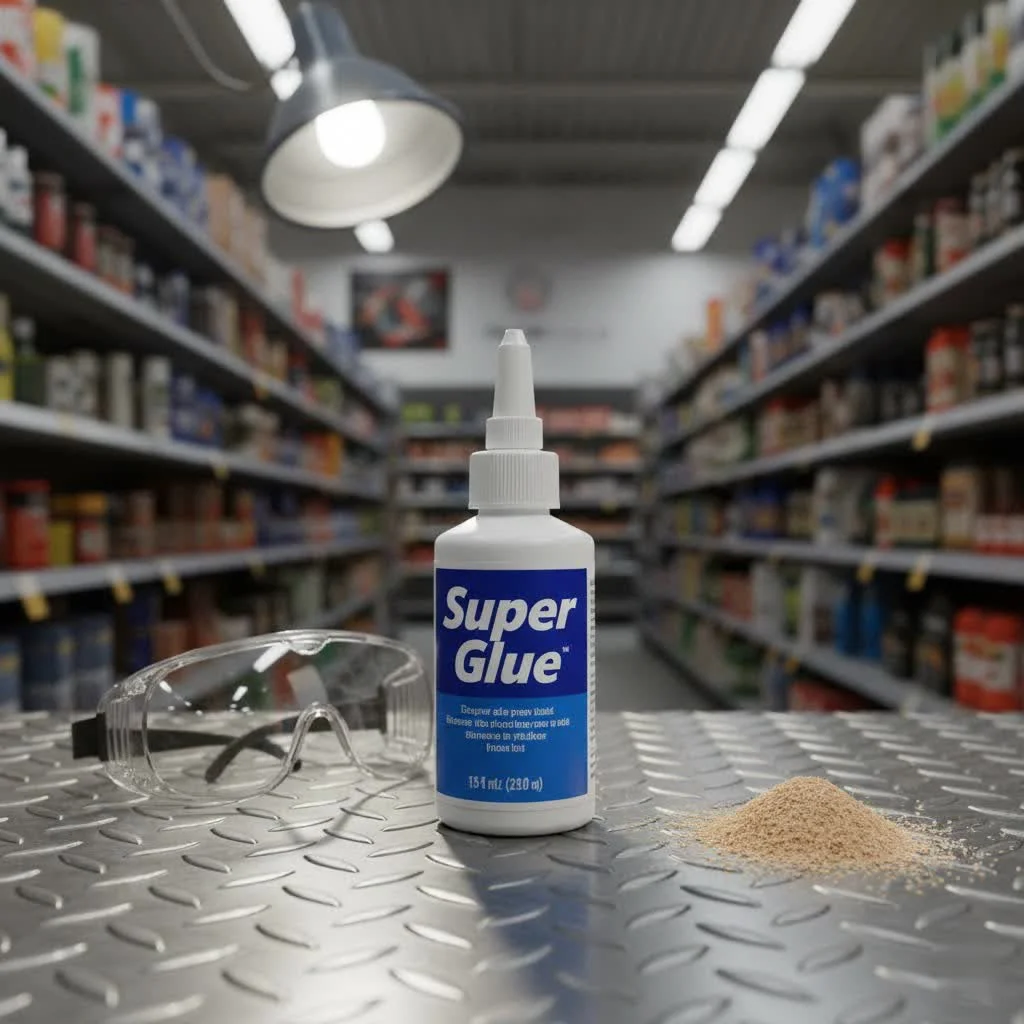
At its core, the super glue and baking soda hack involves combining two readily available household items to create a surprisingly robust and fast-curing filler and adhesive. Super glue, chemically known as cyanoacrylate, is a fast-acting adhesive renowned for forming strong bonds with various surfaces upon contact with moisture. Baking soda, or sodium bicarbonate, is a common white crystalline powder, typically used in baking, cleaning, and deodorizing. When these two seemingly disparate substances meet, they trigger a chemical reaction that dramatically enhances the glue’s performance, producing a solid, cement-like material. This quick-setting mixture is ideal for building up material, filling gaps, and creating incredibly strong, almost instantaneous repairs where conventional super glue might fall short. For expert super glue reviews on this site.
The Science Behind the Strength: Why It Works
The magic behind the super glue and baking soda phenomenon lies in a rapid chemical interaction. Super glue (cyanoacrylate) works by polymerizing—its molecules linking together into long, strong chains—when exposed to hydroxyl ions, typically found in moisture on surfaces or in the air. Baking soda, a mild alkali, acts as a powerful catalyst for this polymerization process.
When baking soda is introduced to super glue, it triggers an exothermic reaction, meaning it generates heat as it cures. This heat significantly accelerates the curing process, causing the glue to harden almost immediately. More critically, the bicarbonate molecules in the baking soda react with the cyanoacrylate to create a highly reactive ion. This ion facilitates faster and more extensive bonding between cyanoacrylate molecules, forming longer, stronger polymer chains than those achieved with super glue and water alone. The baking soda also adds bulk and structure, creating a thicker, more substantial matrix that can withstand greater stress and pressure. The result is a dense, plastic-like substance that is much harder and more resilient than cured super glue on its own, capable of filling voids and providing significant structural reinforcement.
Applications: What Can You Fix?
The versatility of the super glue and baking soda mixture makes it an indispensable tool for DIY enthusiasts and repair experts alike. Its ability to create an instant, rock-hard filler and bond opens up a world of repair possibilities.
Common applications include:
- Filling Gaps and Cracks: Perfect for bridging voids in broken plastics, ceramics, wood, or even metal components that traditional glues can’t fill.
- Reinforcing Weak Joints: Adding a layer of the mixture around a freshly glued joint can significantly increase its strength and durability.
- Repairing Broken Plastics: Ideal for fixing cracked plastic housings, broken tabs, or snapped pieces on toys, appliance parts, or even automotive components. Many have successfully repaired items like headphones and water bottles that seemed irreparable.
- Metal Repairs: Can be used to repair small breaks or reinforce stress points in metal objects.
- Wood Restoration: Excellent for patching small chips, filling screw holes, or rebuilding missing pieces in wooden furniture or crafts.
- Model Building and Crafting: Model makers frequently use this technique for seamless gap filling, adding detail, and strengthening delicate parts, as it can be sanded and painted.
- Quick Structural Fixes: When you need an immediate, strong bond that can also act as a structural component, this duo delivers. It hardens so quickly that it’s often referred to as “instant cement.”
How to Use Super Glue and Baking Soda for Repairs (Step-by-Step)
Using super glue and baking soda effectively requires speed and precision. Here’s a step-by-step guide to achieving rock-solid repairs:
1. Prepare Your Workspace and Materials
|
Our Picks for the Best Super Glue in 2026
As an Amazon Associate I earn from qualifying purchases.
|
||
| Num | Product | Action |
|---|---|---|
| 1 | Loctite Super Glue Ultra Liquid Control, Clear, 0.14 fl oz Bottle, 6 Pack - Superglue for Plastic, Wood, Metal, Crafts & Repair, Cyanoacrylate Adhesive Instant Glue, Quick Dry |

|
| 2 | Super Glue Super Glue 15173-5 Single-use Minis,4 Pack |
|
| 3 | Loctite Super Glue Ultra Gel Control, 4-Gram Bottle (1739050) (Fоur Paсk) |
|
| 4 | WoldoClean Super Glue for Metal 25g Extra Strong Metal Glue - for Stainless Steel and Aluminum, Dries Clear, Waterproof and Holds Instantly |
|
| 5 | Super Glue 15175 Mini Single Use Tubes 5-Pack |
|
| 6 | Gorilla Super Glue with Brush & Nozzle Applicator, Clear Glue, 12 Gram (Pack of 1) - All Purpose and Fast Setting for Projects and Repairs |
|
| 7 | Krazy Glue Original Adhesive - Super Glue - Precision Tip - Multi-Purpose One Drop Applicator (12) |
|
| 8 | Gorilla Super Glue Gel XL, Clear Glue, 25 Gram (Pack of 1) - All Purpose and Fast Setting for Projects and Repairs |
|
| 9 | Loctite 1363589 4-Gram Bottle Super Glue Ultra Gel Control Adhesive, 3-Pack |
|
| 10 | Bob Smith Industries BSI-157H Maxi Cure/Insta-Set Combo Pack (3 oz. Combined),Clear |
|
- Clean Surfaces: Ensure the repair area is clean, dry, and free of dust, grease, or debris for optimal adhesion.
- Gather Tools: You’ll need super glue (thin or medium viscosity often works best), baking soda, a small brush or toothpick for applying baking soda, and sandpaper for finishing.
- Safety First: Always work in a well-ventilated area. Wear safety glasses to protect your eyes and disposable gloves to prevent skin contact, as super glue bonds instantly to skin.
2. The Application Process
Method 1: For Bonding and Gap Filling
- Apply Super Glue: Apply a thin, even layer of super glue to one of the surfaces to be bonded or directly into the crack/gap you intend to fill.
- Add Baking Soda: Immediately, while the glue is still wet, sprinkle a small amount of baking soda over the super glue. You don’t need a thick layer; just enough to cover the glue. Many experts suggest “less is more” for the baking soda initially.
- Instant Reaction: You’ll observe an almost instantaneous hardening as the baking soda reacts with the glue. A slight amount of smoke or heat is normal due to the exothermic reaction.
- Join Parts (if bonding): If you are bonding two pieces, quickly press them together after applying the glue and baking soda to one side, ensuring proper alignment. The bond will form within seconds.
Method 2: For Building Up Material or Larger Fills (Layering Technique)
- Apply a Glue Layer: Apply a bead or thin layer of super glue to the area requiring build-up.
- Sprinkle Baking Soda: Immediately sprinkle baking soda over the glue layer.
- Allow to Harden: Wait a few seconds for the layer to harden completely.
- Repeat: For thicker repairs or to build up volume, repeat steps 1-3, applying alternate layers of super glue and baking soda until the desired thickness or shape is achieved. For very thick pieces (1/4 inch or more), allow about 10 minutes between layers to manage the heat generated and ensure full curing.
3. Finishing Touches
- Curing Time: While the initial bond is instant, allow the repair to fully cure for at least an hour, or preferably longer (up to 24 hours for maximum strength), before subjecting it to stress or extensive sanding.
- Sanding and Shaping: Once fully cured, the material will be rock-hard. You can sand, file, drill, or shape it to blend seamlessly with the original item.
- Painting/Finishing: The repaired area can often be painted or finished to match the surrounding material, making the fix virtually invisible.
Pros and Cons of the Super Glue & Baking Soda Method
While incredibly effective, this repair method has its strengths and weaknesses:
Pros
- Instant Cure: The most significant advantage is the almost instantaneous hardening, allowing for rapid repairs and assembly.
- Extreme Strength: The resulting bond is significantly stronger and more durable than super glue alone, often creating a material harder than the original substrate.
- Excellent Gap-Filling: It effectively fills gaps, cracks, and voids, which standard super glue cannot do on its own.
- Versatile Applications: Works on a wide range of materials including plastics, metals, wood, and ceramics.
- Cost-Effective: Uses inexpensive, common household items, making it a budget-friendly repair solution.
- Sandable and Drillable: The cured material can be sanded, filed, and drilled, allowing for a refined finish.
Cons
- Exothermic Reaction: The reaction generates heat, which can be surprising and potentially cause minor burns if not handled carefully.
- Messy Application: Applying baking soda can be dusty and messy, requiring a clean workspace and careful technique.
- Opaque Finish: The cured material is typically white and opaque, meaning it’s not suitable for repairs where transparency is required.
- Brittle: While strong, the cured material can be somewhat brittle, especially immediately after hardening. It’s not ideal for repairs requiring flexibility.
- Fumes: Super glue itself has fumes, and the rapid reaction can sometimes intensify them. Ensure good ventilation.
- Limited Working Time: Due to the instant hardening, there’s virtually no working time once the baking soda is applied, so accurate placement is crucial.
Safety Precautions
Working with super glue and baking soda, while effective, requires adherence to specific safety guidelines to prevent accidents and ensure a smooth repair process. Your safety should always be the top priority.
- Ventilation is Key: Always work in a well-ventilated area. The fumes from super glue can be irritating, and the exothermic reaction can sometimes release stronger odors.
- Eye Protection: Wear safety glasses or goggles. Super glue can instantly bond eyelids and cause serious eye injury. Baking soda dust can also be irritating.
- Skin Protection: Wear disposable gloves (nitrile or latex are good options). Super glue bonds instantly to skin, and while baking soda can help remove it, prevention is best. If skin bonding occurs, do not pull apart. Use acetone (nail polish remover) carefully.
- Avoid Ingestion: Keep both super glue and baking soda out of reach of children and pets.
- Manage Heat: Be aware that the reaction generates heat. Avoid touching the freshly bonded area until it has cooled.
- Proper Storage: Store super glue in a cool, dry place away from direct sunlight and heat to prolong its shelf life. Keep baking soda sealed.
Tips for Best Results
To get the most out of your super glue and baking soda repairs, consider these expert tips:
- Choose the Right Super Glue Viscosity: Thin super glue often works best as it can fully soak into the baking soda before hardening, creating a more cohesive matrix. Gel super glues may sit on top, potentially forming a hard surface over unreacted powder.
- “Less is More” with Baking Soda: Start with small amounts of baking soda. Too much can lead to a crumbly repair. A thin dusting is usually sufficient to initiate the rapid cure and add bulk.
- Work Quickly and Methodically: Due to the instant cure, have all your materials ready and plan your steps before applying the glue and baking soda.
- Clean Up Spills Immediately: Excess super glue or baking soda can create unwanted hardened areas. Wipe away any drips or brush off excess baking soda before it cures. Acetone can be used for cleaning up uncured super glue.
- Practice on Scrap Material: If it’s your first time, try the technique on a piece of scrap material similar to your actual repair item to get a feel for the speed and reaction.
- Consider Layering for Strength: For repairs that will undergo significant stress, build up several thin layers of glue and baking soda rather than one thick application. This allows for better curing and reduces the chance of internal voids.
Conclusion
The combination of super glue and baking soda is far more than just a simple hack; it’s a shows the powerful chemical reactions that can be harnessed for practical, everyday solutions. From filling troublesome gaps to undertaking seemingly impossible repairs on plastics, metals, and ceramics, this dynamic duo offers an instant, rock-solid fix that often outperforms traditional adhesives. By understanding the underlying science and employing proper techniques and safety measures, you open up the potential to mend broken items with unprecedented strength and speed. So, the next time you encounter a repair challenge, the power duo in your pantry and workshop. What will you fix next with this incredible bonding technique?
Frequently Asked Questions
Can I mix super glue and baking soda beforehand?
No, it is generally not recommended to mix super glue and baking soda beforehand. The reaction is almost instantaneous, and mixing them in advance will cause them to harden before you can apply the mixture to your repair. The most effective method is to apply super glue first, then sprinkle the baking soda on top.
Is the super glue and baking soda repair waterproof?
While cyanoacrylate glues generally have good water resistance, the addition of baking soda creates a porous, cement-like material. While it offers a strong bond, its long-term waterproof capabilities depend on the specific application and whether it’s sealed. For outdoor or consistently wet applications, additional sealing may be necessary.
Can this method be used on all materials?
The super glue and baking soda hack works well on a wide range of rigid materials like plastics, ceramics, wood, and most metals. However, it is not suitable for flexible materials, fabrics, or repairs where a transparent finish is required due to its opaque nature and rigid outcome.
How long does a super glue and baking soda repair last?
When applied correctly, a super glue and baking soda repair can be incredibly durable and long-lasting, often outperforming the original material in terms of hardness and bond strength. Many users report repairs lasting for years, even on high-stress items.
What should I do if the mixture gets on my skin?
If super glue and baking soda get on your skin, do not try to pull the skin apart. Instead, use acetone (found in most nail polish removers) to gently dissolve the glue. If baking soda has formed a hard mass, acetone can help break it down. Always use caution and if irritation persists, consult a medical professional.
Get our weekly buyer guide
Practical specs, not advice. Unsubscribe anytime.
I tried this on a ceramic mug handle that broke off. While it did reattach, the repair isn’t as invisible as I hoped, and it feels a bit rough. It’s definitely strong, and the instant cure was impressive, but for delicate, visible items, I might stick to a different type of adhesive. Still, it’s a good trick for less aesthetic fixes.
I’ve been using super glue for years, but the baking soda trick is a game-changer! I had a broken plastic tab on my car’s interior that I thought was a goner. Following the guide, I used a thin layer of glue, sprinkled baking soda, and repeated. It’s seriously rock-solid now, way stronger than just glue alone. This saved me from buying a whole new part.
This combo is fantastic for filling gaps. I used it to fix a wobbly chair leg where the wood had split a bit. The cyanoacrylate and baking soda created a really strong bond and filled the void perfectly. My only minor complaint is that it cures so fast, you have to be really quick and precise, but that’s also its strength for instant repairs.
I’m always looking for new DIY hacks, and this one blew me away. I fixed a stripped screw hole in a cabinet door using the super glue and baking soda method, and it worked like a charm. The screw now holds tight, and it was so much easier than trying to patch it with wood filler. Definitely keeping baking soda next to my super glue from now on.